
How to Set Up a Charging Station for Your Devices at Home
Setting up a dedicated charging station for your devices can help keep your home organized and ensure that your gadgets are ready to use when you need them. Whether you have smartphones, tablets, wireless earbuds, or smartwatches, a well-planned charging station reduces clutter and streamlines the charging process. This guide provides clear, practical steps to help you create a charging hub that suits your home and lifestyle.
Why Create a Charging Station?
Before diving into the setup, it’s helpful to know why having a charging station is beneficial:
– Organization: Keeps cables and devices in one place, reducing mess.
– Convenience: Makes it easy to find chargers and devices.
– Safety: Minimizes the risk of tripping over cables or overloading power outlets.
– Efficiency: Enables simultaneous charging of multiple devices.
Choose the Right Location
The first step is picking the ideal spot for your charging station. Consider the following:
– Accessibility: Choose a location everyone can easily access, such as a living room table, kitchen counter, or a desk.
– Power Source: Ensure there is a nearby electrical outlet or multiple outlets to plug in chargers.
– Ventilation: Avoid enclosed spaces where devices may overheat during charging.
– Surface: Pick a sturdy surface that can hold the station without tipping over.
Gather the Necessary Supplies
Once you have a location, collect the items needed for your charging station:
– Power Strip or Surge Protector: Allows you to plug in multiple chargers safely.
– Charging Cables: Use cables compatible with your devices (USB-C, Lightning, micro-USB, etc.).
– Charging Stand or Dock: Optional but useful for holding devices upright.
– Cable Management Tools: Such as cable clips, ties, or sleeves to keep wires neat.
– Container or Tray: To hold smaller accessories like earbuds or adapters.
– Labeling Supplies: Stickers or labels to identify cables and chargers.
Set Up the Charging Hub
Follow these steps to assemble your charging station:
1. Position the Power Strip
Place the power strip close to the outlet and near the edge of the surface so cables don’t stretch or get tangled.
2. Organize Cables
Use cable clips or ties to bundle excess cable length and prevent tangling. You can label each cable based on the device it charges, making it easy to grab the right one.
3. Arrange Chargers and Devices
If you have charging stands or docks, place them on the station and plug in each one. For devices without docks, lay them flat in a tray or designated spot. Ensure cables reach comfortably without strain.
4. Add Accessories Container
Include a small container or drawer to keep tiny items like charging adapters, earbuds, or extra cables tidy and within reach.
5. Test the Setup
Plug in the power strip and test each charger with its device to ensure everything works smoothly and cables are not overly stretched.
Tips for Maintaining Your Charging Station
– Regularly untangle and clean cables: Dust and dirt can build up over time.
– Update cables: Replace any that become frayed or stop working.
– Avoid overloading outlets: Use a surge protector to protect devices and don’t exceed the power strip’s capacity.
– Keep it clutter-free: Only keep necessary devices and accessories at the station to avoid overcrowding.
Bonus: Creative Ideas for Charging Stations
– Wall-mounted stations: Use a small shelf or board with hooks to hang and charge devices vertically.
– Furniture integration: Some desks and nightstands come with built-in charging ports.
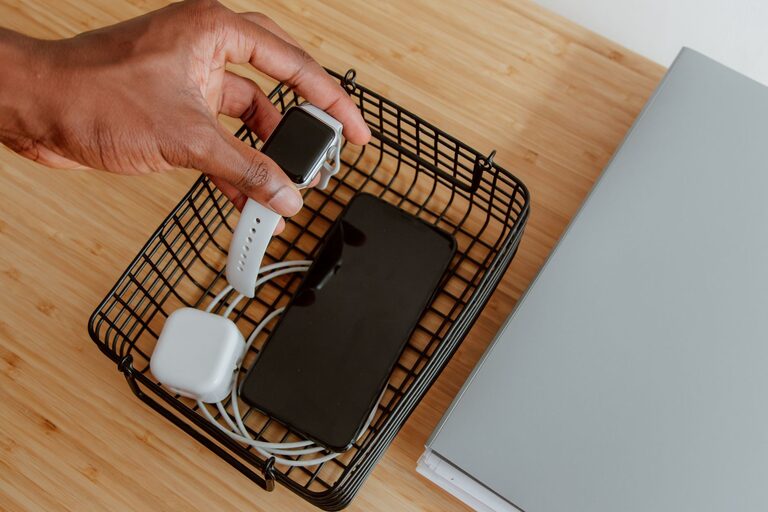
– Portable stations: Use a small box or basket that can be moved around the house as needed.
Conclusion
Creating a charging station for your devices is a simple and effective way to minimize clutter and streamline your daily routine. By choosing the right location, organizing cables, and using helpful accessories, you can keep all your gadgets powered and ready to go. Give it a try, and enjoy a neat and convenient charging setup at home!
